Blood Glucose Meter Buying Guide | BMC Medical
A practical step-by-step guide to blood glucose meter buying guide, including preparation, instructions, common issues, tips, and next steps.
Blood Glucose Meter Buying Guide
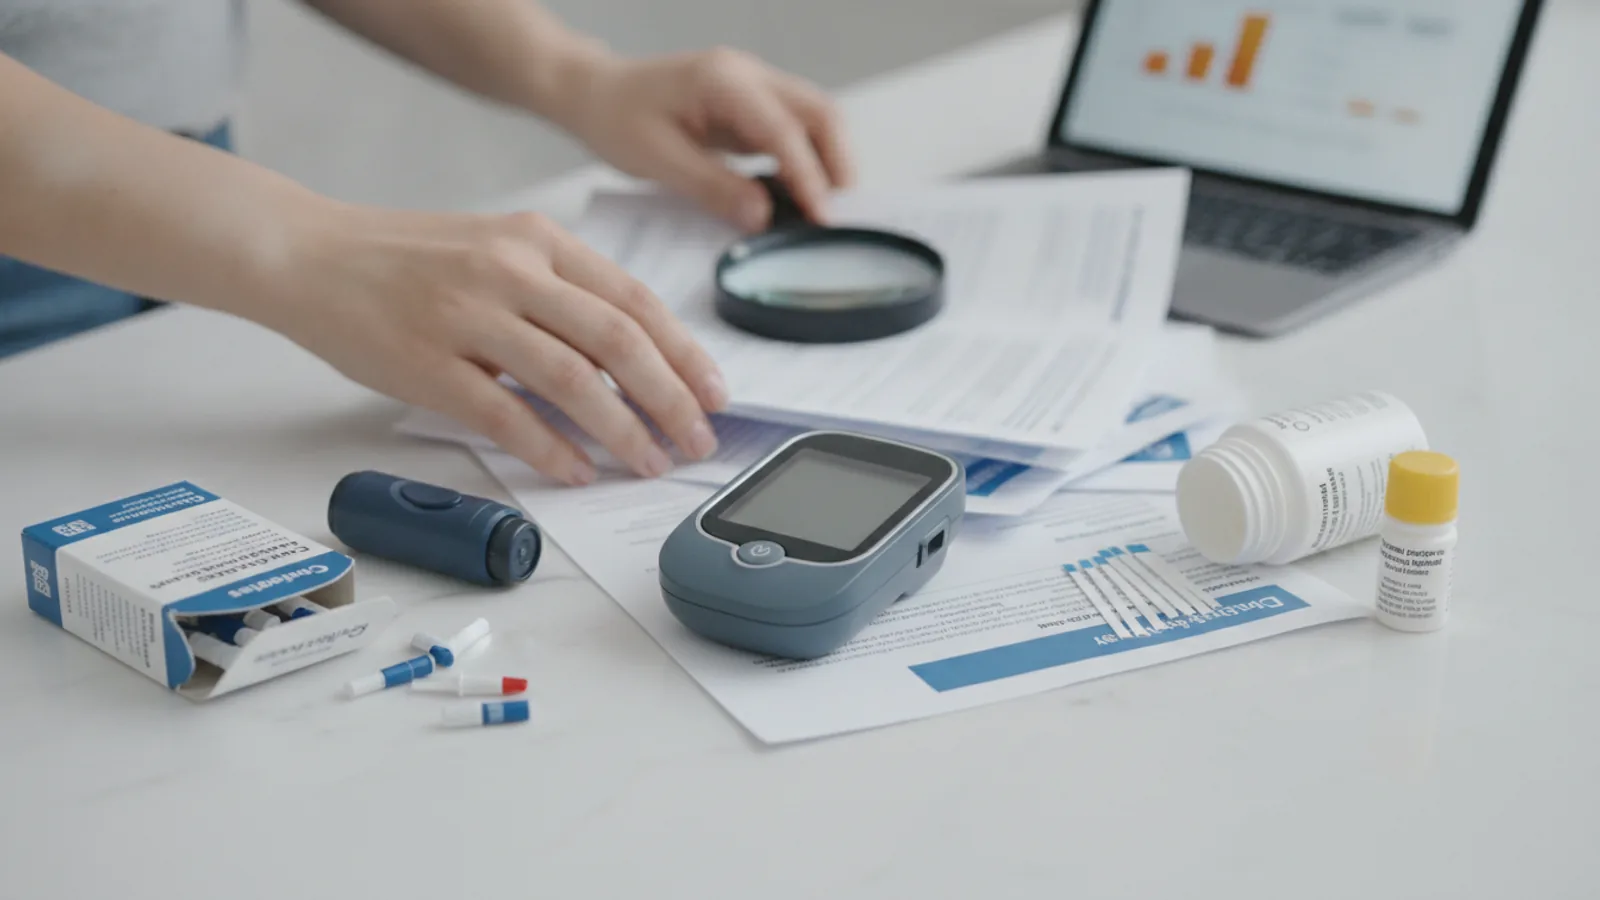
This guide provides a structured approach to selecting a blood glucose meter in the UK. Choosing the right device is a crucial step in managing diabetes, and this process ensures your final choice aligns with your medical needs, lifestyle, and budget. This guide is for individuals who have been advised by a healthcare professional to begin self-monitoring of blood glucose, helping you understand the features, costs, and standards to consider before making a purchase.
Fast Answer
- Primary Concern: Accuracy and ongoing costs.
- Key Standard: Look for meters compliant with the ISO 15197:2013 standard.
- Biggest Mistake: Ignoring the long-term cost and availability of compatible test strips.
- First Step: Always discuss your needs with your GP or diabetes care team before choosing.
Before You Start
Preparation is key to making an informed decision that supports your health management. Before you begin comparing models, gather the following information and complete these essential checks.
What You Need
- Medical Guidance: Have a clear understanding of your monitoring requirements as specified by your GP, diabetes nurse, or specialist. This includes how often you need to test.
- Prescription Information: Know whether you will be getting test strips and lancets on an NHS prescription or purchasing them privately. This significantly impacts your long-term cost analysis.
- List of Personal Requirements: Note any personal factors that could affect your use of a meter. This could include vision impairments, reduced dexterity (e.g., from arthritis), your level of comfort with technology, or a need for portability.
- A Budget: Determine a budget not just for the meter itself (which can often be low-cost or even free), but for the recurring monthly cost of test strips, lancets, and other supplies if you are self-funding.
Safety, Timing, or Context Checks
Your safety and the accuracy of your health data are paramount. This guide provides educational context but is not a substitute for professional medical advice.
- Professional Consultation: Your choice of monitoring equipment is a clinical decision. The most suitable meter for you depends on your specific type of diabetes, treatment plan, and overall health.
- Source of Purchase: Plan to purchase your meter and supplies from a reputable source, such as a registered UK pharmacy or a major retailer. Avoid second-hand meters, as their history and accuracy cannot be verified.
Step-by-Step Instructions
Follow these steps to systematically evaluate your options and choose a blood glucose meter that is reliable, easy to use, and affordable for your situation.
Assess Your Personal and Physical Needs
The best meter is one you can use consistently and correctly. Start by evaluating your own capabilities and lifestyle. Consider your eyesight: do you need a large, high-contrast, or backlit screen to read results easily? Think about dexterity: are your hands steady? Some meters and test strips are small and can be difficult to handle. If you have arthritis or neuropathy, look for larger meters with chunky, easy-to-grip strips and a lancing device that is simple to operate.
Your daily routine also matters. If you are very active or travel frequently, a compact meter with a durable carrying case might be best. If you test at night, a screen backlight and a port light (where the strip is inserted) can be invaluable features that prevent you from having to turn on the main room lights.
Verify Meter Accuracy and Compliance
Your treatment decisions rely on accurate readings. In the UK and Europe, blood glucose meters sold for self-monitoring must meet a specific accuracy standard: ISO 15197:2013. This standard requires that 95% of test results are within a +/- 15% range of the true laboratory value. For example, if your true blood glucose is 5.5 mmol/L, an accurate meter should display a result between 4.7 mmol/L and 6.3 mmol/L.
You can verify a meter's compliance by checking the product's packaging, user manual, or the manufacturer's official website. Reputable manufacturers will clearly state their adherence to this standard. Meters provided through the NHS are required to meet this standard, offering a baseline of assurance.
Evaluate the Testing Process and Sample Size
The day-to-day experience of testing is a major factor. Look at the blood sample size required by the meter, which is measured in microlitres (µl). Modern meters typically require a very small sample, often between 0.3 µl and 1.0 µl. A smaller sample size means a less painful finger prick is needed, as you don't have to squeeze your finger as hard to produce a sufficient drop of blood.
Also, consider the test time—the number of seconds the meter takes to display a result. Most current devices are fast, providing a reading in about 5 seconds. Another key usability feature is "sip-in" or "capillary action" test strips, which automatically draw the correct amount of blood into the strip, reducing the chance of error and wasted strips.
Consider Data Management and Connectivity
How you track and review your results is essential for managing your condition. Basic meters will store a few hundred readings with the date and time, which you can review on the meter's screen. This may be sufficient if you use a paper logbook.
More advanced meters offer sophisticated data management. Features to look for include the ability to calculate glucose averages over 7, 14, 30, or 90 days. Some allow you to "flag" readings as pre-meal or post-meal, which helps you and your care team see patterns. The most advanced meters use Bluetooth to sync wirelessly with a smartphone app. These apps can chart your data, help you identify trends, and allow you to easily share a detailed report with your GP or diabetes nurse via email, which can be extremely helpful for remote consultations.
Thoroughly Research the Cost and Availability of Test Strips
This is arguably the most important financial consideration. The initial cost of the blood glucose meter itself is often very low; some manufacturers even provide them for free. The significant, ongoing expense is the test strips. Each meter is only compatible with its own specific brand of test strips.
Before committing to a meter, find out the exact cost of a pack of 50 test strips. If you are funding them yourself, this cost can add up quickly. If you are eligible for strips on an NHS prescription, confirm with your GP's surgery or local pharmacy that the strips for your chosen meter are on their local formulary (the list of approved, prescribable items). Sometimes, a CCG (Clinical Commissioning Group) may have a preferred, more cost-effective meter and strip combination, and you may be asked to switch. Ensure the strips are also readily available from your local pharmacy or online retailers so you never run the risk of running out.
Look into Additional Features
Some meters offer features beyond basic glucose testing. One of the most important is blood ketone testing. This is particularly relevant for people with Type 1 diabetes, as it can help detect diabetic ketoacidosis (DKA), a serious medical emergency. These meters require separate, more expensive ketone test strips but can provide vital information when you are ill.
Other features might include audible readouts for the visually impaired, multiple language options, or reminders and alarms to prompt you to test. While these can be helpful, it is important not to be swayed by features you do not need. A simpler device that you use correctly is always better than a complicated one that you struggle with.
Quick Reference
| Situation | Look for This Feature | Why It Helps |
|---|---|---|
| Poor eyesight | Large, backlit, high-contrast display | Ensures you can read results clearly in any lighting condition. |
| Unsteady hands or arthritis | Larger meter, large/sturdy test strips, good lancing device | Makes the meter and supplies easier to handle, reducing frustration and errors. |
| Type 1 diabetes, especially during illness | Combined blood glucose and ketone testing | Allows for early detection of ketones, helping to prevent DKA. |
| Comfortable with technology | Bluetooth connectivity and a smartphone app | Automates logging, helps identify trends, and simplifies data sharing with your care team. |
| On a tight budget (self-funding) | A meter with low-cost, widely available test strips | Minimises the significant long-term cost of diabetes management. |
| Frequent traveller | Compact size with a quality hard-shell case | Protects the device and makes it easy to pack and carry safely. |
Common Problems When Choosing a Blood Glucose Meter
Being aware of common pitfalls can help you avoid them. Here are some issues people frequently encounter during the selection process:
- Focusing Only on the Meter's Price: Many are attracted to a free or very cheap meter, only to discover later that the proprietary test strips are prohibitively expensive. Always factor in the cost of strips for at least one year.
- Choosing a Device That's Too Complicated: A meter with dozens of features you'll never use can be more confusing than helpful. Prioritise core functionality: accuracy, ease of use, and readability.
- Not Considering Physical Handling: A sleek, tiny meter might look good, but if you struggle to handle the small strips or press the buttons, it will lead to frustration and testing avoidance.
- Assuming All Strips are the Same: It is critical to understand that you can only use the specific brand and model of test strip designed for your exact meter model. Using the wrong strips will produce an error or a dangerously incorrect reading.
- Forgetting About the Lancing Device: The small pen-like device used to prick your finger is a key part of the kit. A good lancing device has adjustable depth settings for comfort and is easy to load and operate. An uncomfortable lancing experience can be a major barrier to regular testing.
Advanced Tips for Your Blood Glucose Meter Choice
Once you have the basics covered, these advanced considerations can help you refine your choice and plan for the long term.
- Understand Meter "Coding": Older meters required you to "code" them by inserting a chip or entering a number to match each new vial of test strips. Most modern meters are "no-coding," which is far simpler and eliminates a major source of potential error. Always opt for a no-coding meter if possible.
- Look at CGM vs. BGM: This guide focuses on Blood Glucose Meters (BGM), which use a finger-prick sample. Be aware of another technology called Continuous Glucose Monitoring (CGM), which uses a sensor inserted under the skin to provide real-time data. CGMs are typically used by people with Type 1 diabetes or intensively-managed Type 2 diabetes and are prescribed by a specialist. Ensure you are researching the correct type of device for your needs.
- Check for Alternative Site Testing (AST): Some meters are approved for testing on sites other than the fingertip, such as the palm or forearm. While this can give your fingertips a rest, be aware that results from these sites can lag behind fingertip readings, especially when your glucose is changing rapidly (e.g., after a meal or exercise). Always follow the manufacturer's instructions and your doctor's advice regarding AST.
- Enquire About Customer Support: Before you buy, check the manufacturer's UK website. Do they offer a UK-based helpline? Good customer support can be invaluable if you have a problem with your device or need replacement parts, such as batteries or a logbook.
Blood Glucose Meter Buying Guide FAQ
Are the "free" blood glucose meters a good deal?
How often should I replace my blood glucose meter?
Can I get a blood glucose meter on the NHS?
What is control solution and do I need it?
Final Checklist for Buying a Blood Glucose Meter
Use this final checklist to confirm you have covered all the important aspects of your decision.
- I have discussed my monitoring needs with my GP or diabetes care team.
- The meter I am considering meets the ISO 15197:2013 accuracy standard.
- I have checked the long-term cost and local availability of the correct test strips.
- I have confirmed the test strips are available via my NHS prescription, if applicable.
- The meter's display is easy for me to read, even in low light.
- I can comfortably handle the meter, test strips, and lancing device.
- The blood sample size required is small (ideally under 1.0 µl).
- The meter has the data management features (memory, averages, app sync) that I need.
- I have read reviews from trusted sources like Diabetes UK or the manufacturer's website.